

The glow that tells you what's happening.
Aircraft overhead, the forecast, the markets and the time — all glowing in your home. Get set up, make it yours and find everything you need here.
Everything for your display, in one place.
Whether you're switching it on for the first time or already enjoying it, finding your next step should be simple.
Set up your display
Connect to Wi-Fi, pair your browser and choose what appears on screen.
02 / YOUR GLOWGRIDMy Displays
See your registered displays, software versions and what's new.
03 / WE'RE HEREHelp & support
Quick answers for Wi-Fi, settings, updates and registration.
Already set up? Get the most from your display. Thinking about getting a Glowgrid? Find out what it can show.
Set up your display.
It takes about ten minutes. You will need your Glowgrid display, its power adaptor, a phone, tablet or Wi-Fi-capable computer, and your home Wi-Fi password. You do not need a Glowgrid account.
Follow these three stages at your own pace. You can reopen any stage whenever you need it.
1Get connectedSwitch on your display and connect it to your Wi-Fi
- 01
Plug in and wait for the welcome
Connect the supplied 5V power adaptor and switch your Glowgrid display on. The Glowgrid logo appears, then the panel starts to guide you.
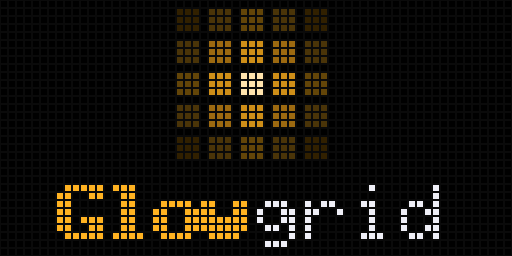
Your panel, a moment after power-up - 02
Join the Glowgrid Wi-Fi
On your phone, tablet or computer, open Wi-Fi settings and choose the network shown on the display. It starts with Glowgrid- and ends with four letters or numbers that are different on every display. Then type the password the panel shows next.
Your phone, tablet or computer may say this network has no internet connection. That's normal during setup. Stay connected to the Glowgrid network.
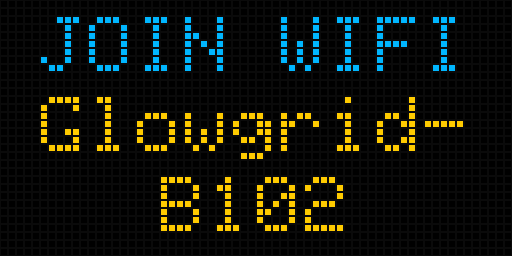
Your network name 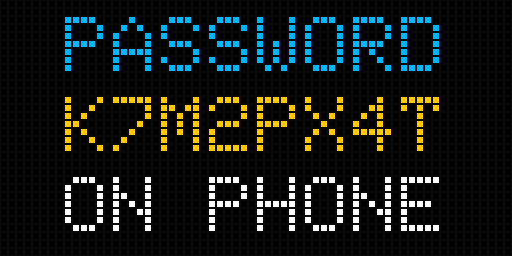
Its password (yours will differ) - 03
Open the setup page
The panel now says OPEN IN and names a browser. The setup page may open automatically. Otherwise, open a browser on that connected phone, tablet or computer and enter http://192.168.4.1. Keep the http:// at the start. The display may say CONTINUE ON YOUR PHONE, but you can use a tablet or computer too.
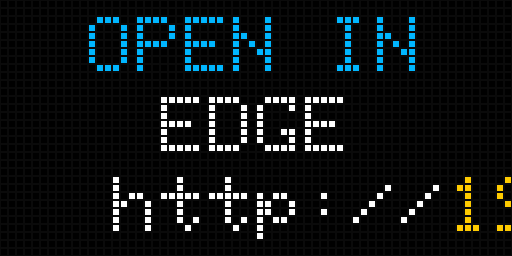
The address scrolls across the bottom 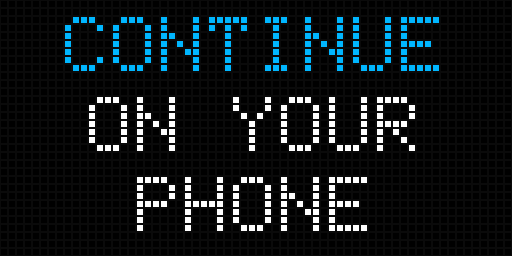
Once the page opens, the panel tells you to carry on - 04
Choose your home Wi-Fi
Pick your home network from the list, enter its password and select Save and connect. Your display checks the password before it saves it. Only 2.4 GHz networks can be joined, which is what most routers offer by default.
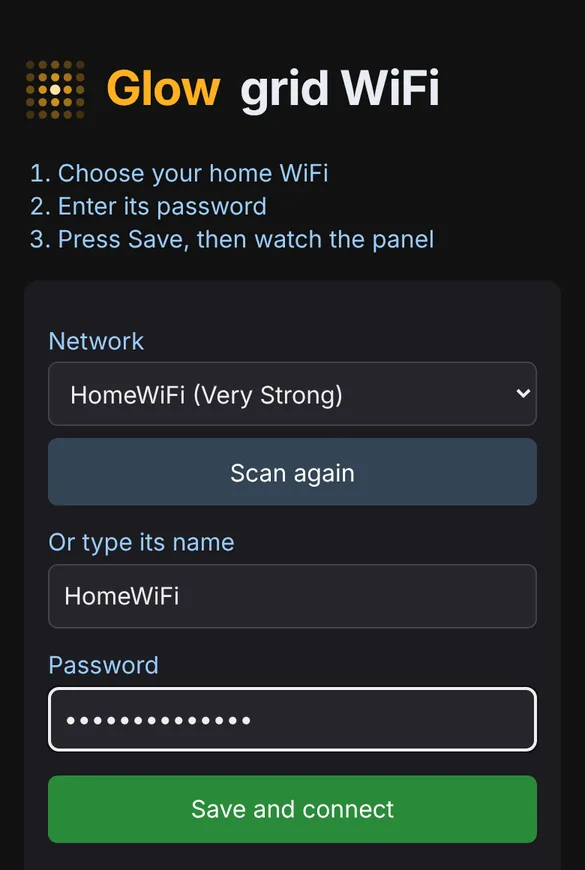
The setup page (phone example) 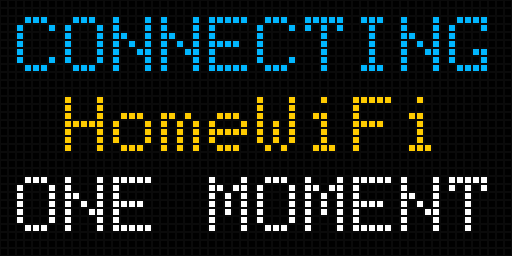
The panel while it connects 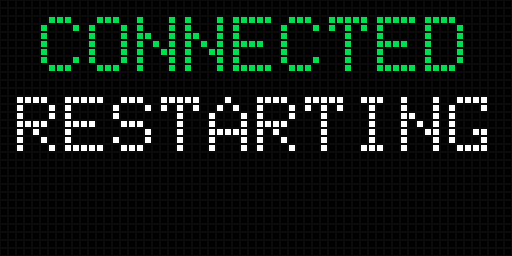
Success. It restarts onto your Wi-Fi The panel says FAILED
The password was not accepted. Check it and try again on the setup page. Passwords are case sensitive.
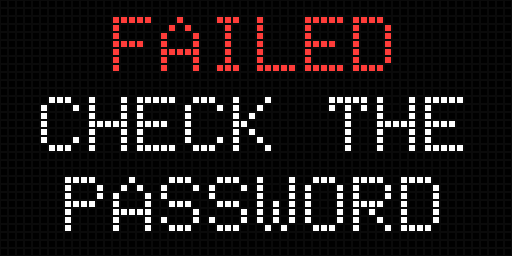
Nothing is saved until the password works
2Make it yoursPair your browser, find the settings page and customise your display
- 05
Rejoin your home Wi-Fi and find the address
Your display is now on your home network. Reconnect the phone, tablet or computer you're using to that same network. The panel shows your network name, then OPEN IN and a web address made of numbers. Type that address into your browser, starting with http://.
Good to know: your display shows this address every time it is switched on, not only during setup. Whenever you need the settings page again, switch the display off, wait 30 seconds, then switch it on again and watch for OPEN IN on the panel. The address stays on screen for about 30 seconds.
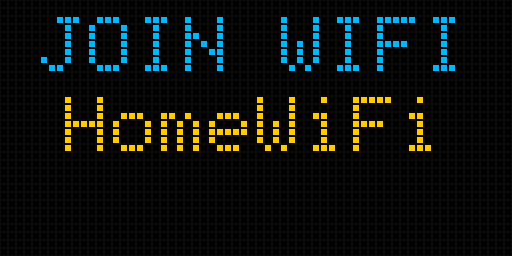
Join your home network again 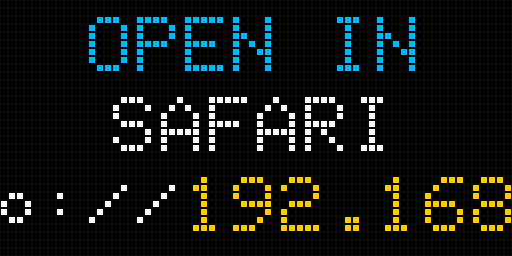
Then open the address it shows Tip: bookmark the address in your browser so you can find the settings page again. Your router also lists the display as glowgrid- followed by the same four characters you saw in step 2.
- 06
Pair your browser
Only paired browsers can change the display's settings. Select Show code on the panel, enter the six-digit code shown on the display, then select Pair. The code runs out after two minutes. You can ask for a new one.
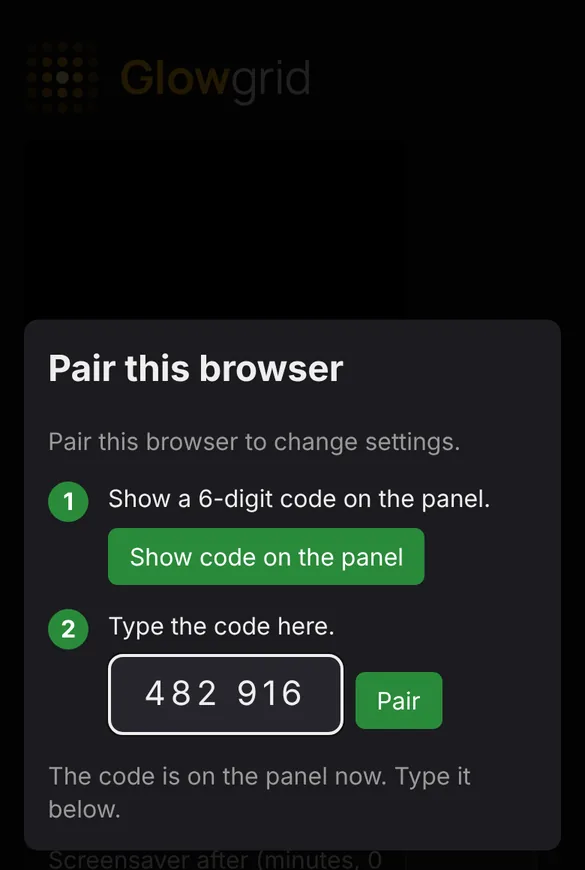
Pairing shown on a phone 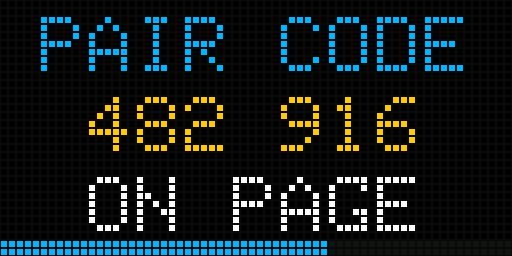
The code on the panel (yours will differ) 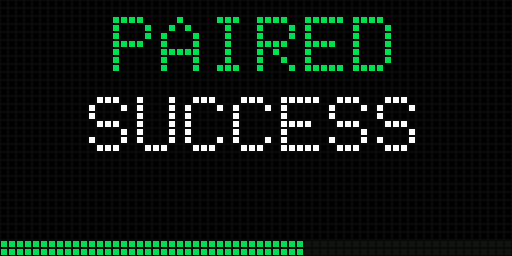
Paired - 07
Make it yours
You are in. The live picture at the top is your panel. Use the tabs to set your location, choose which screens appear and in what order, adjust brightness and switch on night mode. Select Save changes to keep your settings.
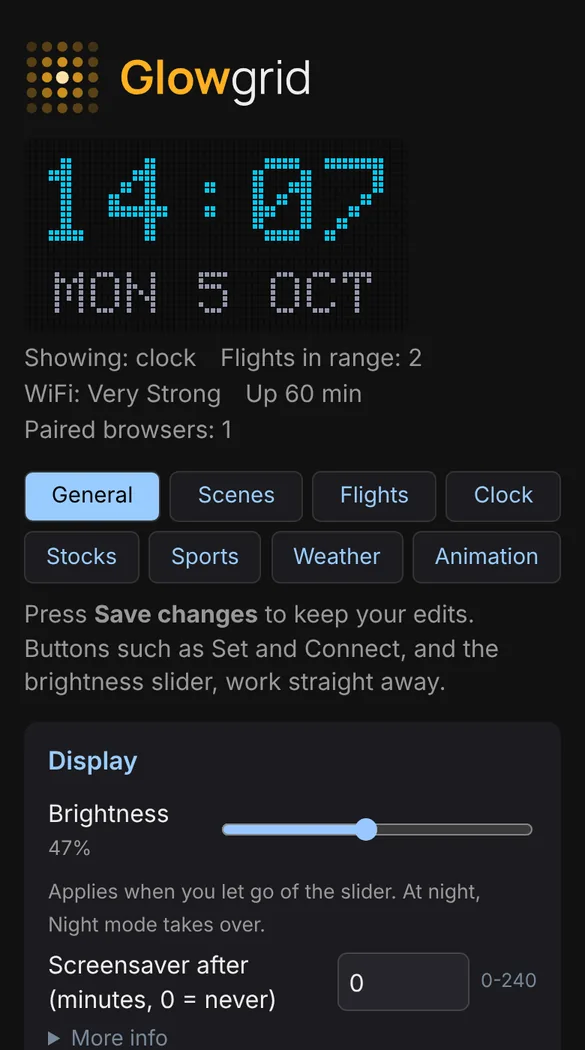
Your settings page 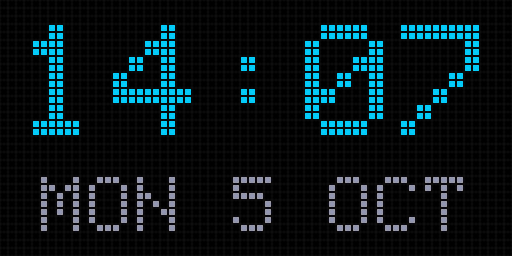
Your Glowgrid display at work
3Register your display (optional)Link your display to your email so it appears in My Displays
- 08
Optional: register your Glowgrid display online
Registering links your display to your email address so it appears in My Displays on this website. You do not need to do this, and your Glowgrid display works the same either way.
- On your settings page, open Registration and select Register your display. Not sure how to open your settings page? See how to find it (step 05).
- Scan the QR code with a camera, or open the registration link in a browser on your phone, tablet or computer. The link works for about ten minutes.
- Enter your email address and open the sign-in link we send you. There is no password.
- Select Register this display. That's all.
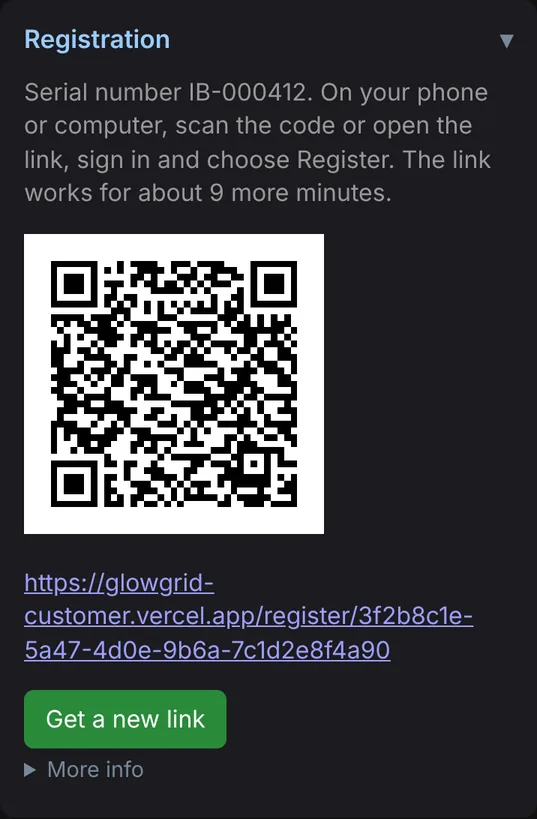
On your settings page 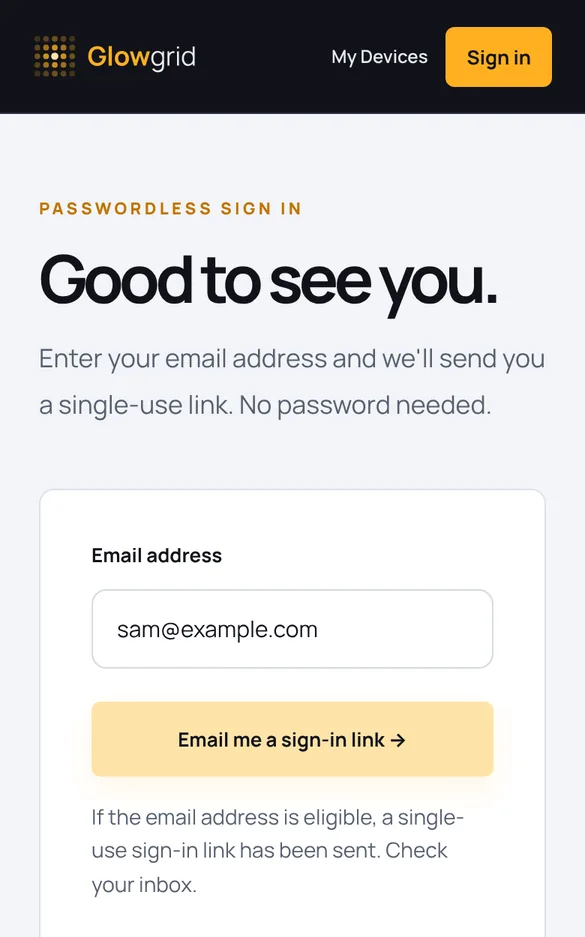
Sign in with your email 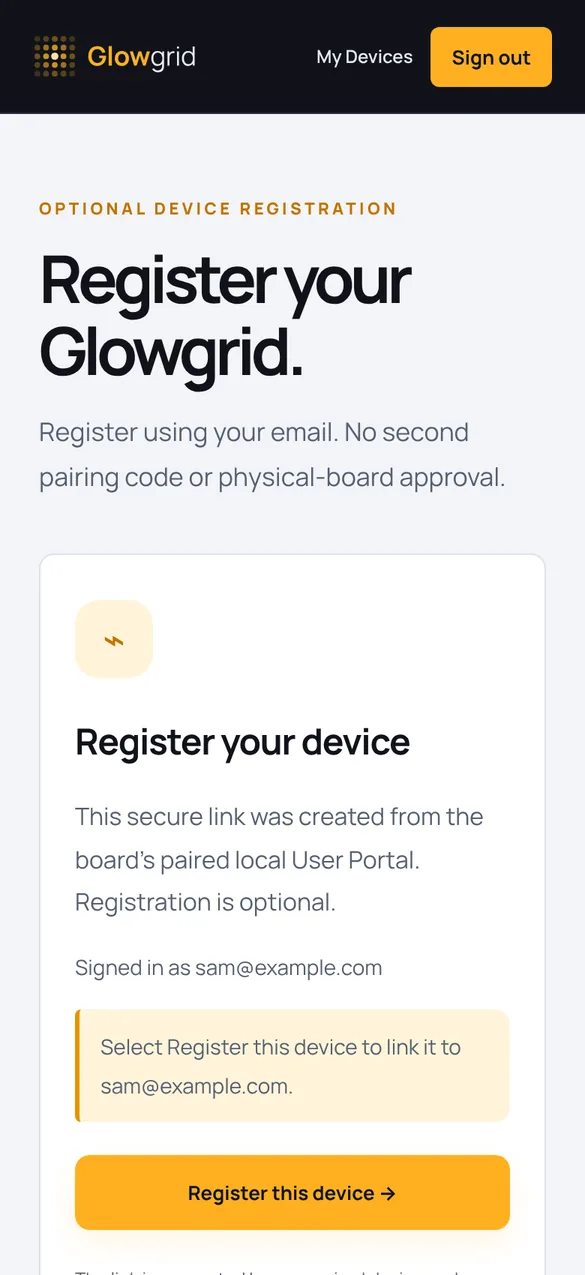
Register this display You’re all set. Once registered, your display appears in My Displays. Next, see how to get the most from your display.
If something goes wrong
The setup page will not open
Type http://192.168.4.1 into your browser and make sure it starts with http://. Check that the phone, tablet or computer you're using is still connected to the Glowgrid Wi-Fi network, and temporarily disconnect any VPN. If the network disappears, wait a moment and join it again.
I cannot see my home Wi-Fi in the list
Your display only works with 2.4 GHz networks. Select Scan again, move your router or display closer, or type the network name in the box below the list.
The panel says WIFI LOST
Your display cannot find your network. If your router was off, it reconnects on its own within a minute or so of the router returning. If you changed your Wi-Fi name or password, or moved house, hold the button on the display for three seconds and let go, then start again from step 2.
Nobody joined the setup network in time
Your display restarts after ten minutes without a visitor and shows a new password. Start again from step 2 with the new details.
I cannot find the display's address
Restart the display to see it on the panel again, or look for glowgrid- in the list of devices in your router's app.
I want to change Wi-Fi later
Open your settings page and use the WiFi card. If you can no longer reach the display, hold its button for three seconds to start setup again.
Your network name, password and pairing code are shown only on your own panel and are different for every display. The screens above are examples, so follow what your panel displays.
How can we help?
Find answers to common Glowgrid display questions. Choose a topic below, or follow the setup guide.
Wi-Fi & connection
My display won't connect to Wi-Fi
Check the network password and signal, restart the display, then follow the setup instructions shown on your Glowgrid display. Your display works without a customer account.
I can't find my display's settings page
Make sure the phone, tablet or computer you're using is on the same home network as your Glowgrid display. Restart your display to see its local web address on the screen. You can also look for glowgrid- in your router's device list. See the setup guide.
What does “Last contact” mean?
It shows the last time your display successfully contacted the Glowgrid service. This does not guarantee that it is currently online.
Settings & updates
How do I change my display's settings?
Sign in and open My Displays, then select Open Display Settings. Your phone, tablet or computer must be connected to the same home network as your display. If the link is not available, follow the setup guide to find the address shown on your display. The Customer Portal does not remotely control the display, and your browser may still need to be paired.
How does my display get software updates?
Software updates are managed by Glowgrid. My Displays shows information about your display but does not control its updates.
Registration & ownership
Can I add scenes to my display from this website?
Yes, once your display is registered. Open Find scenes in My Displays and choose Add to display. Your display picks it up within 5 minutes. To change the order, switch scenes on or off or edit wording, use your display's settings page. This website never controls your display live.
Do I need an account?
No. Your display works without registering. An account is only for the optional My Displays view.
My registration link has expired
Registration links work for about ten minutes. Open Registration on your display's settings page to get a new link, then follow it to sign in and register. Your display works even without registration.
Can I sell or give away my display?
You can remove its optional registration from My Displays. This doesn't reset settings or saved Wi-Fi details. Clear personal configuration using your display's local controls before handing it over.
To change what your display shows, open its settings page in a browser on your home network. This website doesn't remotely control your display.
My Displays
Your registered Glowgrid displays, all in one place. To change what your display shows, use its settings page while connected to your home Wi-Fi.
Your registered Glowgrid displays, all in one place. Find new scenes for each one with Find scenes, from anywhere. Arrange them, and change Wi-Fi, brightness and software updates, on each display’s settings page.
More about registering: how to register a display · Help & support · Get the most from your display
Sign in to see your displays
We'll email you a secure sign-in link. There's no password to remember.
Your displays will appear here
Your display works without an account. To add it here, open Registration on the settings page for your Glowgrid display and follow the steps.
How to register your display →Scenes
Add scenes from the Glowgrid catalogue to your display, from anywhere. Your display picks up a new scene within 5 minutes and puts it at the end of its scene list.
How adding and arranging scenes works · Back to My Displays
Sign in to see your scenes
We'll email you a secure sign-in link. There's no password to remember.
Space for your own scenes
Messages and animations share this space. The scenes built into your display don’t use any. Switching a scene off doesn’t free space; deleting it on the settings page does.Added to this display
Nothing added yet. Find a scene below.
Add scenes
Built into your display
Every Glowgrid has these. Switch them on or off on your display’s settings page.
Register your display.
Link your display to your account using your email. It only takes a moment.
Register your display.
Open Registration on your display's settings page to create a one-time registration link.
Keep your Glowgrid display switched on and connected to Wi-Fi. This page updates automatically.
That link is no longer available. Open Registration on your display's settings page to create a new link. See how to register.
Registration is optional. Links expire after ten minutes. If you're transferring a display, it may take a little longer while the display safely removes older paired browsers. The browser you used to start registration stays paired.
Return to setup →Good to see you.
Enter your email address and we'll send you a single-use link. No password needed.
Check your inbox
We'll only use your verified email for registration, display access and essential account messages. You can keep using the display without signing in.
Get the most from your display.
Your display is already working. This is a tour of what you can change on its settings page, so it shows what matters to you.
Open your display's settings page from a browser on your home network. Press Save changes to keep your edits. Buttons such as Set and Connect, and the brightness slider, work straight away. Not sure how to open it? See step 5 of the setup guide, or use Open Display Settings in My Displays if your display is registered.
1Choose your scenes and their orderThe carousel, brightness and idle animations
- Each scene has its own position and on-screen time. Put the ones you care about first.
- If a scene has no data, your display skips it and moves on, so nothing sits empty on the panel.
- Plasma and bouncing-ball animations keep the panel alive when nothing else has data.
- The brightness slider applies when you let go of it. At night, Night mode takes over.
- The Screensaver after setting is in minutes, and 0 means never.
2FlightsThree screens for every aircraft
- Where: altitude and ground speed, plus distance and direction from you.
- Who: aircraft type and registration, plus heading. These are looked up online, so they can appear a moment late.
- Route: airline name, and origin to destination with the destination's flag.
- Tick the two lines you want under each callsign. A screen with both lines off is skipped.
- Turn on split-flap animation for an airport departures-screen look.
- Override airline colours using the 3-letter callsign prefix, such as BAW or EZY.
3Overhead alertA plane flies across the panel
- When an aircraft passes within a distance you set, it interrupts whatever is showing, plays one cycle, then returns to where it was.
- It works even if the Flights scene is switched off.
- Enter your local airport's 3-letter code to ignore flights landing there, departing from there, or both.
- It uses each flight's route, so flights with no known route are never ignored.
4ClockFour styles and a second time zone
- Choose digital, analogue, words, or digits with a seconds bar.
- Pick a 12 or 24-hour display and your colour.
- The time zone follows your location automatically, including daylight saving.
- Add a second zone under the main time with a label of up to four letters. It appears in the Digital style only.
- If the clock is your only scene, bouncing balls take over after a delay you set. That keeps the LEDs from wearing and the display lively.
5StocksThree symbols, two screens each
- Add up to three symbols: US shares as they are (AAPL), London with .L (VOD.L), indices with ^ (^GSPC).
- Each symbol gets a price screen with a six-month graph, then a screen for the day's high and low.
- Quotes are about 15 minutes delayed and can occasionally be unavailable.
- You choose how often it refreshes.
6WeatherYour place, your units
- You see today plus three days, with icons and highs and lows.
- Switch between Celsius and Fahrenheit.
- Animate the weather icons, or keep them still.
- Set your own location label for the screen, or leave it empty for an automatic one.
- One location drives both the flight area and the weather, so set it once.
7Seasonal and custom themesTen celebrations plus three of your own
- Switch on the events you celebrate: Festive, Pumpkins, Fireworks, Hearts, Diwali, Eid, Hanukkah, Lunar New Year, Easter and Pride.
- Each one joins your scene list so you can put it in order.
- Dates aren't automatic, so switch a theme off when the event is over.
- Make three custom themes with your own message (up to 20 characters) and an icon: Star, Heart, Balloon, Cake, Gift or Sparkle. They suit birthdays and anniversaries.
- Optionally set a yearly date window, and the theme only shows between those dates.
8Adding and arranging scenesFind scenes on this website, arrange them on your display
- This website (your Glowgrid account) is where you find and add scenes. Open Find scenes in My Displays, then Add to display. It works from anywhere once your display is registered.
- Your display picks up a new scene within 5 minutes and puts it at the end of its scene list, switched on. To get it straight away, press Check now on the Scenes tab of your display's settings page.
- Your display's settings page is where you arrange everything: the order of your scenes, which are on, how long each shows, and the wording of messages and themes. It also holds Wi-Fi, location, brightness, night mode and software updates, and works on your home network even without the internet.
- Removing a scene here switches it off on your display, or deletes it if it was a message, animation or theme you haven't changed there.
Aircraft, weather and stock information comes from free third-party sources, so coverage and availability depend on those providers. If something looks wrong or stops updating, see Help & support.
That page isn't here.
Return to the Glowgrid home page or explore the setup guide.
Back to owner support →